 how-to
Easy Verification of Batch Records and Purity
Table of Contents
- Why Batch Records Verification Matters for Reproducible Research
- What You'll Need Before You Start
- Step 1: Match the Batch Number to the Vial and COA
- Step 2: Work Through a Peptide Certificate of Analysis Checklist
- Step 3: Learn How to Verify a Peptide COA Against the Batch
- Step 4: Read HPLC Peptide Purity Results Correctly
- Step 5: Confirm Identity with Mass Spectrometry Peptide Identity Data
- Common Mistakes to Avoid When Verifying Batch Records
- Frequently Asked Questions
Last Updated: 12 October 2026
Why Batch Records Verification Matters for Reproducible Research
Batch records verification is the process of checking that a peptide vial's label, its batch number, and its Certificate of Analysis all describe the same material. Get it right and your results can be repeated by anyone. Get it wrong and months of work rest on an unknown sample.
This guide from JGPep+ walks through easy verification of batch records and purity for peptide research, step by step. We supply research materials with a batch-specific COA for every product, so we see first-hand how much difference good documentation makes.
Reproducibility is the whole point of research. If a colleague cannot trace your starting material back to a documented batch, your findings are hard to defend. The OECD Principles on Good Laboratory Practice set out the record-keeping expectations that most labs build on.
So here is the practical route: match, check, confirm. Below, we show you exactly how to do each one in under an hour.
What You'll Need Before You Start
Gather everything before you open a vial. It keeps the batch record clean and traceable.
- The vial itself, with its label intact
- The batch-specific COA for that exact batch
- The supplier's catalogue reference and stated vial contents
- A lab notebook or electronic record for your notes
- A calculator for simple recovery sums
One rule matters more than the rest: never rely on a generic COA. A document that covers a product line rather than a single batch tells you very little. Ask for the COA tied to your batch number, and check it before you commit the material to an experiment.
Step 1: Match the Batch Number to the Vial and COA
Start with the batch number. It is the thread that ties everything together.
- Read the batch number printed on the vial label.
- Find the same number on the COA.
- Check the catalogue reference matches your order.
- Confirm the stated vial contents match what you received.
If any of those four do not line up, stop. Do not open the vial. Contact the supplier and ask for the correct document. A mismatch is rare, but it is the one error that undermines every later check.
A common mistake is reading the lot number and the batch number as the same thing. They are not always identical. Use whichever term your supplier prints, and match it exactly, character for character.
Step 2: Work Through a Peptide Certificate of Analysis Checklist
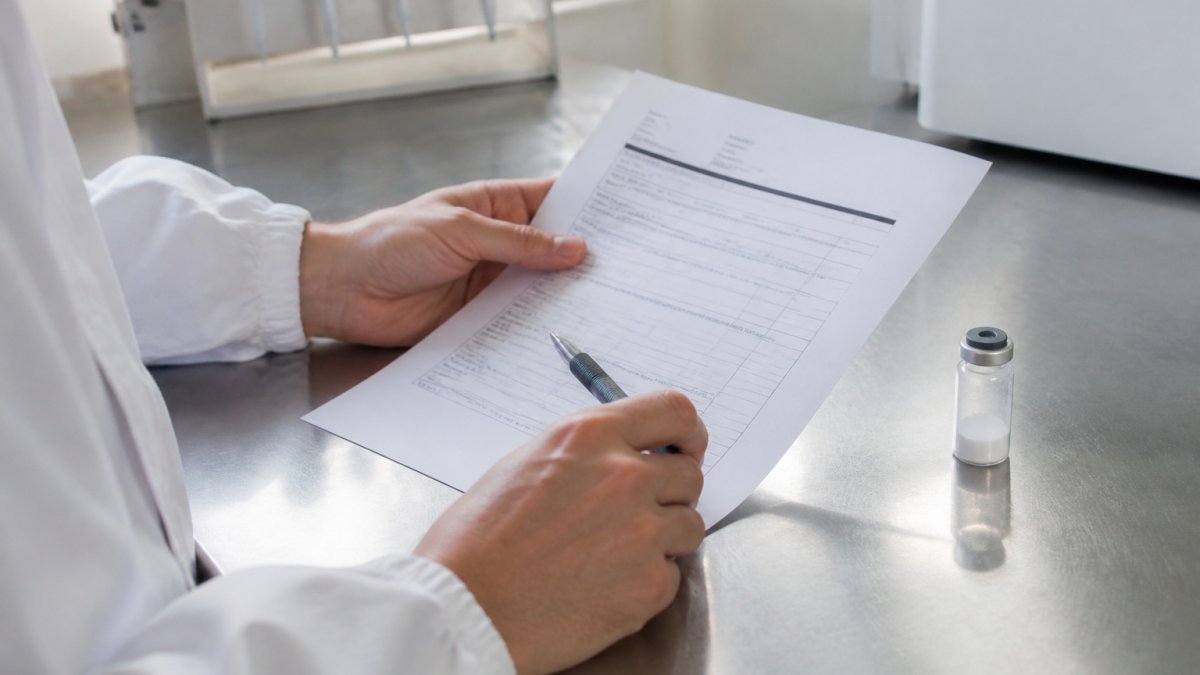
A peptide Certificate of Analysis checklist is the fastest way to confirm a document is complete. Work down it every time, even when you trust the supplier.
- Batch number present and matching the vial
- Product name and catalogue reference stated
- Stated vial contents and nominal amount listed
- Purity figure with the method named
- Identity confirmation method named
- Test date and document date shown
- Storage guidance included
Two items on that list do the heavy lifting: the purity figure and the identity method. A COA without either is a receipt, not an analysis.
Step 3: Learn How to Verify a Peptide COA Against the Batch
Learning how to verify a peptide COA against the batch comes down to three cross-checks. Do them in order.
First, compare identifiers. The batch number, catalogue reference and product name must match across the vial label, the COA and your order record.
Second, compare amounts. The stated vial contents on the COA should match the label. A small difference in fill is normal; a different figure entirely is not.
Third, compare dates. The test date should sit before the dispatch date, and neither should be years old.
If all three line up, the document belongs to your material. That is the whole test. It takes minutes, and it protects the entire experiment.
Step 4: Read HPLC Peptide Purity Results Correctly
HPLC peptide purity results are reported as a percentage from a chromatographic run. The figure tells you how much of the material eluted as the main peak.
View the complete research peptide catalogue →
Three things shape how you read it:
- The method. Gradient, column and detector all affect the result.
- The integration. How the software drew the peak boundaries changes the number.
- The main peak share. This is the purity figure itself.
A high figure from a poorly described method means less than a slightly lower figure from a clearly stated one. Read the method before you read the number.
Also check whether the COA reports related substances or impurities separately. That detail tells you more about the material than the headline percentage alone.
Step 5: Confirm Identity with Mass Spectrometry Peptide Identity Data
Mass spectrometry peptide identity data confirms the material is what the label says. Purity tells you how clean the sample is. Identity tells you what it actually is. You need both.
The COA should report an observed mass and a theoretical mass. Compare them:
- A close match supports the expected structure.
- A clear gap means the material may not be what you ordered.
Check that the ionisation method is named, since different methods report different adducts. A small, explainable difference is normal. An unexplained gap is a reason to query the batch before you use it.
This is the step most people skip, and it is the one that catches a mislabelled vial.
Common Mistakes to Avoid When Verifying Batch Records
Most verification failures come down to a handful of habits. Here are the ones we see most.
- Accepting a generic COA. Always insist on the batch-specific document.
- Skipping the identity check. Purity without identity proves very little.
- Ignoring the method. A percentage with no technique named cannot be judged.
- Filing the COA away unread. Read it when the vial arrives, not months later.
- Not recording your checks. A note in the lab book makes the work traceable.
None of these take long to fix. Together they turn a stack of paperwork into a defensible record.
At JGPep+, every product ships with clear identification, stated vial contents and a batch-specific COA, backed by tracked UK dispatch. You can review guidance on laboratory quality records from the Royal Society of Chemistry for further reading on documentation standards.
Verification should not be the hard part of your research. The hard part is the science. When a supplier gives you a batch-specific COA, clear labelling and stated contents, the checks above take minutes rather than hours.
That is what we built JGPep+ around: batch-specific COA documentation for every product, clear product identification and stated strengths, and tracked UK dispatch with free delivery on qualifying orders. View the complete research peptide catalogue and see how straightforward verification can be.
Frequently Asked Questions
How do you verify a peptide batch number?
Check that the batch number printed on the vial label matches the batch number on the Certificate of Analysis exactly. Look for a unique identifier rather than a generic lot code. If the COA lists a different batch number, request a corrected document from the supplier before using the material. JGPep+ provides batch-specific COAs for every product so you can cross-reference directly.
What should a peptide Certificate of Analysis include?
A complete COA should list the peptide name, sequence, batch number, molecular weight, purity percentage, HPLC method details, mass spectrometry data, appearance, storage conditions and the date of analysis. It should also name the testing method used. If any of these fields are missing, the document may not be batch-specific and you should query it with the supplier.
What does peptide purity percentage actually mean?
Purity percentage from HPLC shows the proportion of the total peak area that corresponds to your target peptide. A 98% purity result means 98% of the detected material is the intended peptide. It does not confirm identity on its own, which is why mass spectrometry data should accompany the HPLC result. Both together give a fuller picture of batch quality.
Can a COA confirm the identity and purity of a research peptide?
A COA confirms what the supplier tested and reported, but it is only as good as the methods behind it. HPLC purity results show how much of the sample is your target peptide. Mass spectrometry peptide identity data confirms the molecular weight matches the expected sequence. Together they provide strong evidence, though independent verification in your own lab is always recommended for critical work.